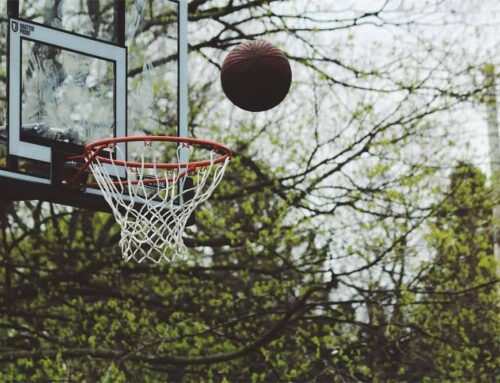
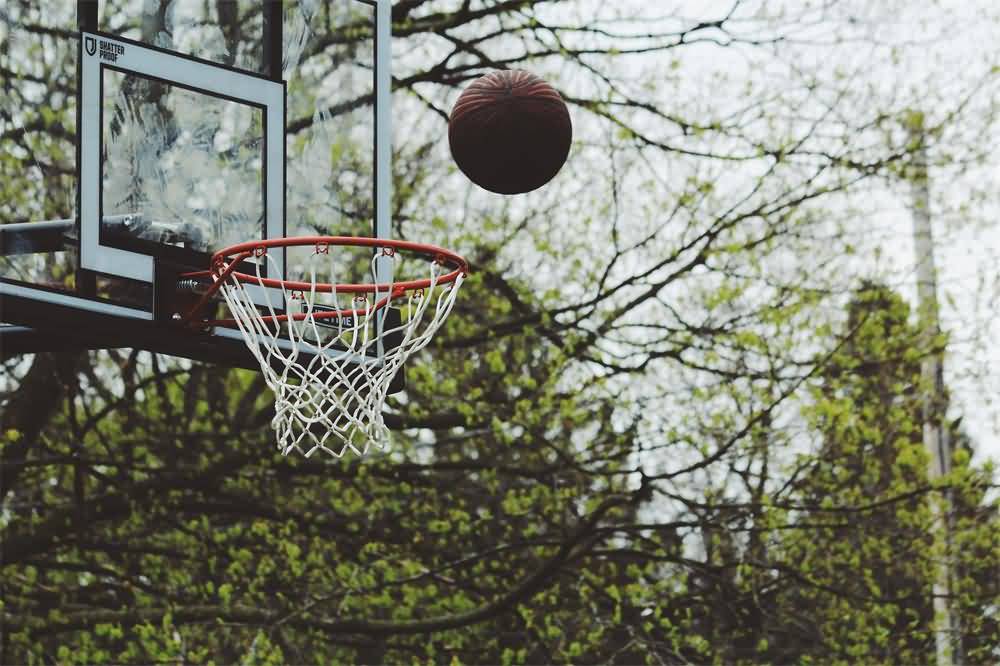
A basketball hoop is a key component of any court. It typically includes a backboard, rim, and support post, and is installed at both ends of a basketball court. Hoops come in various types—including hydraulic, portable, and fixed—but regardless of style, the structure must be strong and stable enough to withstand ball impact without vibrating or bending, which can affect rim alignment and performance.
This guide walks you through both the installation process and essential maintenance tips to ensure long-lasting performance.

🛠️ Step-by-Step Basketball Hoop Installation Guide
1. Prioritize Safety During Setup
Always take precautions to avoid injuries during installation.
The typical installation sequence for a portable basketball hoop with a weighted base is:
Base box → Main post → Extension arm → Rear support rod → Backboard → Rim → Upper tension rod → Lower tension rod → Add weight plates
🔧 Ensure the five backboard connection points are aligned on the same plane and evenly stressed.
The extension arm, backboard, and rim should form a straight line.
⚠️ Avoid letting the arm or rim come into direct contact with the glass backboard to prevent damage.
2. Prepare All Parts Before Starting
Unpack and confirm all parts against the instruction manual or parts list.
Place the hoop base about 1 meter (3.3 feet) outside the end line of the court centerline.
🚧 Keep the installation area clear—especially of children, pets, and seniors.
General Installation Flow:
- Attach main post and extension arm
- Install rear support rod
- Mount backboard
- Attach rim
- Connect upper and lower tension rods
- Add counterweights
3. Installing the Main Post
- Position the main post onto the base box.
- Secure it using four M16×40 hex bolts, spring washers, and flat washers.
- Use a level to ensure proper alignment before tightening bolts.
4. Installing the Extension Arm
- Tilt the rear of the base box forward (lift about 1 meter) to make arm installation easier.
- Align the extension arm with holes at the top of the post.
- Bolt them together securely.
- Attach the rear support rod (triangular frame) to the extension arm with screws.
5. Mounting the Backboard and Rim
- Two people should lift and hold the backboard.
- A third person should install the rim.
Once the bolts pass through both the rim’s mounting plate and extension arm, immediately secure them with nuts.
- Attach both the upper (long) and lower (short) tension rods.
- Make sure the backboard is vertically aligned and level.
- Adjust rod rotation as needed and tighten all bolts firmly.
🧰 Basketball Hoop Maintenance & Care
1. Perform Regular Inspections
Routine checks are essential. Inspect your hoop twice a year for:
- Rust or corrosion
- Loose or unstable joints
- Paint peeling
- Weak welds or cracks
🛡️ Repaint any damaged areas to prevent rust.
For major corrosion or structural issues, contact the manufacturer immediately.
2. Use Properly to Avoid Damage
- The backboard is fragile—never hit it with hard objects (e.g., bricks, stones).
- Avoid dunking on rims that aren’t spring-loaded.
- If the rim is bent or cracked, stop using the hoop and arrange for repairs.
3. Clean Your Hoop Regularly
- Dirt and dust can build up on both indoor and outdoor hoops.
- Use a neutral cleaner to avoid damaging surfaces.
- Indoor hoops, which don’t benefit from rain exposure, should be wiped down more frequently to maintain appearance and safety.
✅ Final Tip
By installing your basketball hoop properly and following a regular care routine, you’ll extend its lifespan and keep it safe, stable, and ready for every game.


Leave A Comment